A quick look at workflow
Sometimes I really enjoy my time post processing images. Other times it’s just a misery that I must get through. I’m guessing that many other photographers bounce between these two emotions as well. I have a few friends that are pretty good with a camera, but where they really shine is in the processing and the digital darkroom. They love to get into the photo at a pixel level and mess with each pixel, pushing and pulling, adjusting each setting and blending this to that. These are the ones that are doing high level compositing, adding and subtracting to the image until it is a work of art. Rarely does this final image look anything like what they started with.
To be honest, I would not call myself a post-processing guru at all. I use Photoshop, but I stick to the basics most of the time. My job is in getting the image as close to what I want in the camera so that the post production is minimal. As with any photographer the post production will depend greatly on the style of photography that you are doing: portraits will demand more skin retouching, landscapes may require removal of some ugly background elements, and street photography will demand very little.
I have improved my skin retouching technique quite a bit in the last years but still have more to learn. There are so many techniques out there from only dodging and burning to frequency separation, and many more (check out this youtube channel for tons of Photoshop help). I have a few things I have learned and am working to master those specific ones instead of learning every trick that is out there. As you probably know, Photoshop usually has five ways to do just about anything you need to do and while sometimes there are differences in the final results, that is not always the case. One of the things I have found with using photoshop is that it is best to learn a few tools well than to try to learn how to do everything that is possible with this extensive software tool. After you have checked out the youtube channel I posted I would say to pick one or two of the techniques and learn them well.

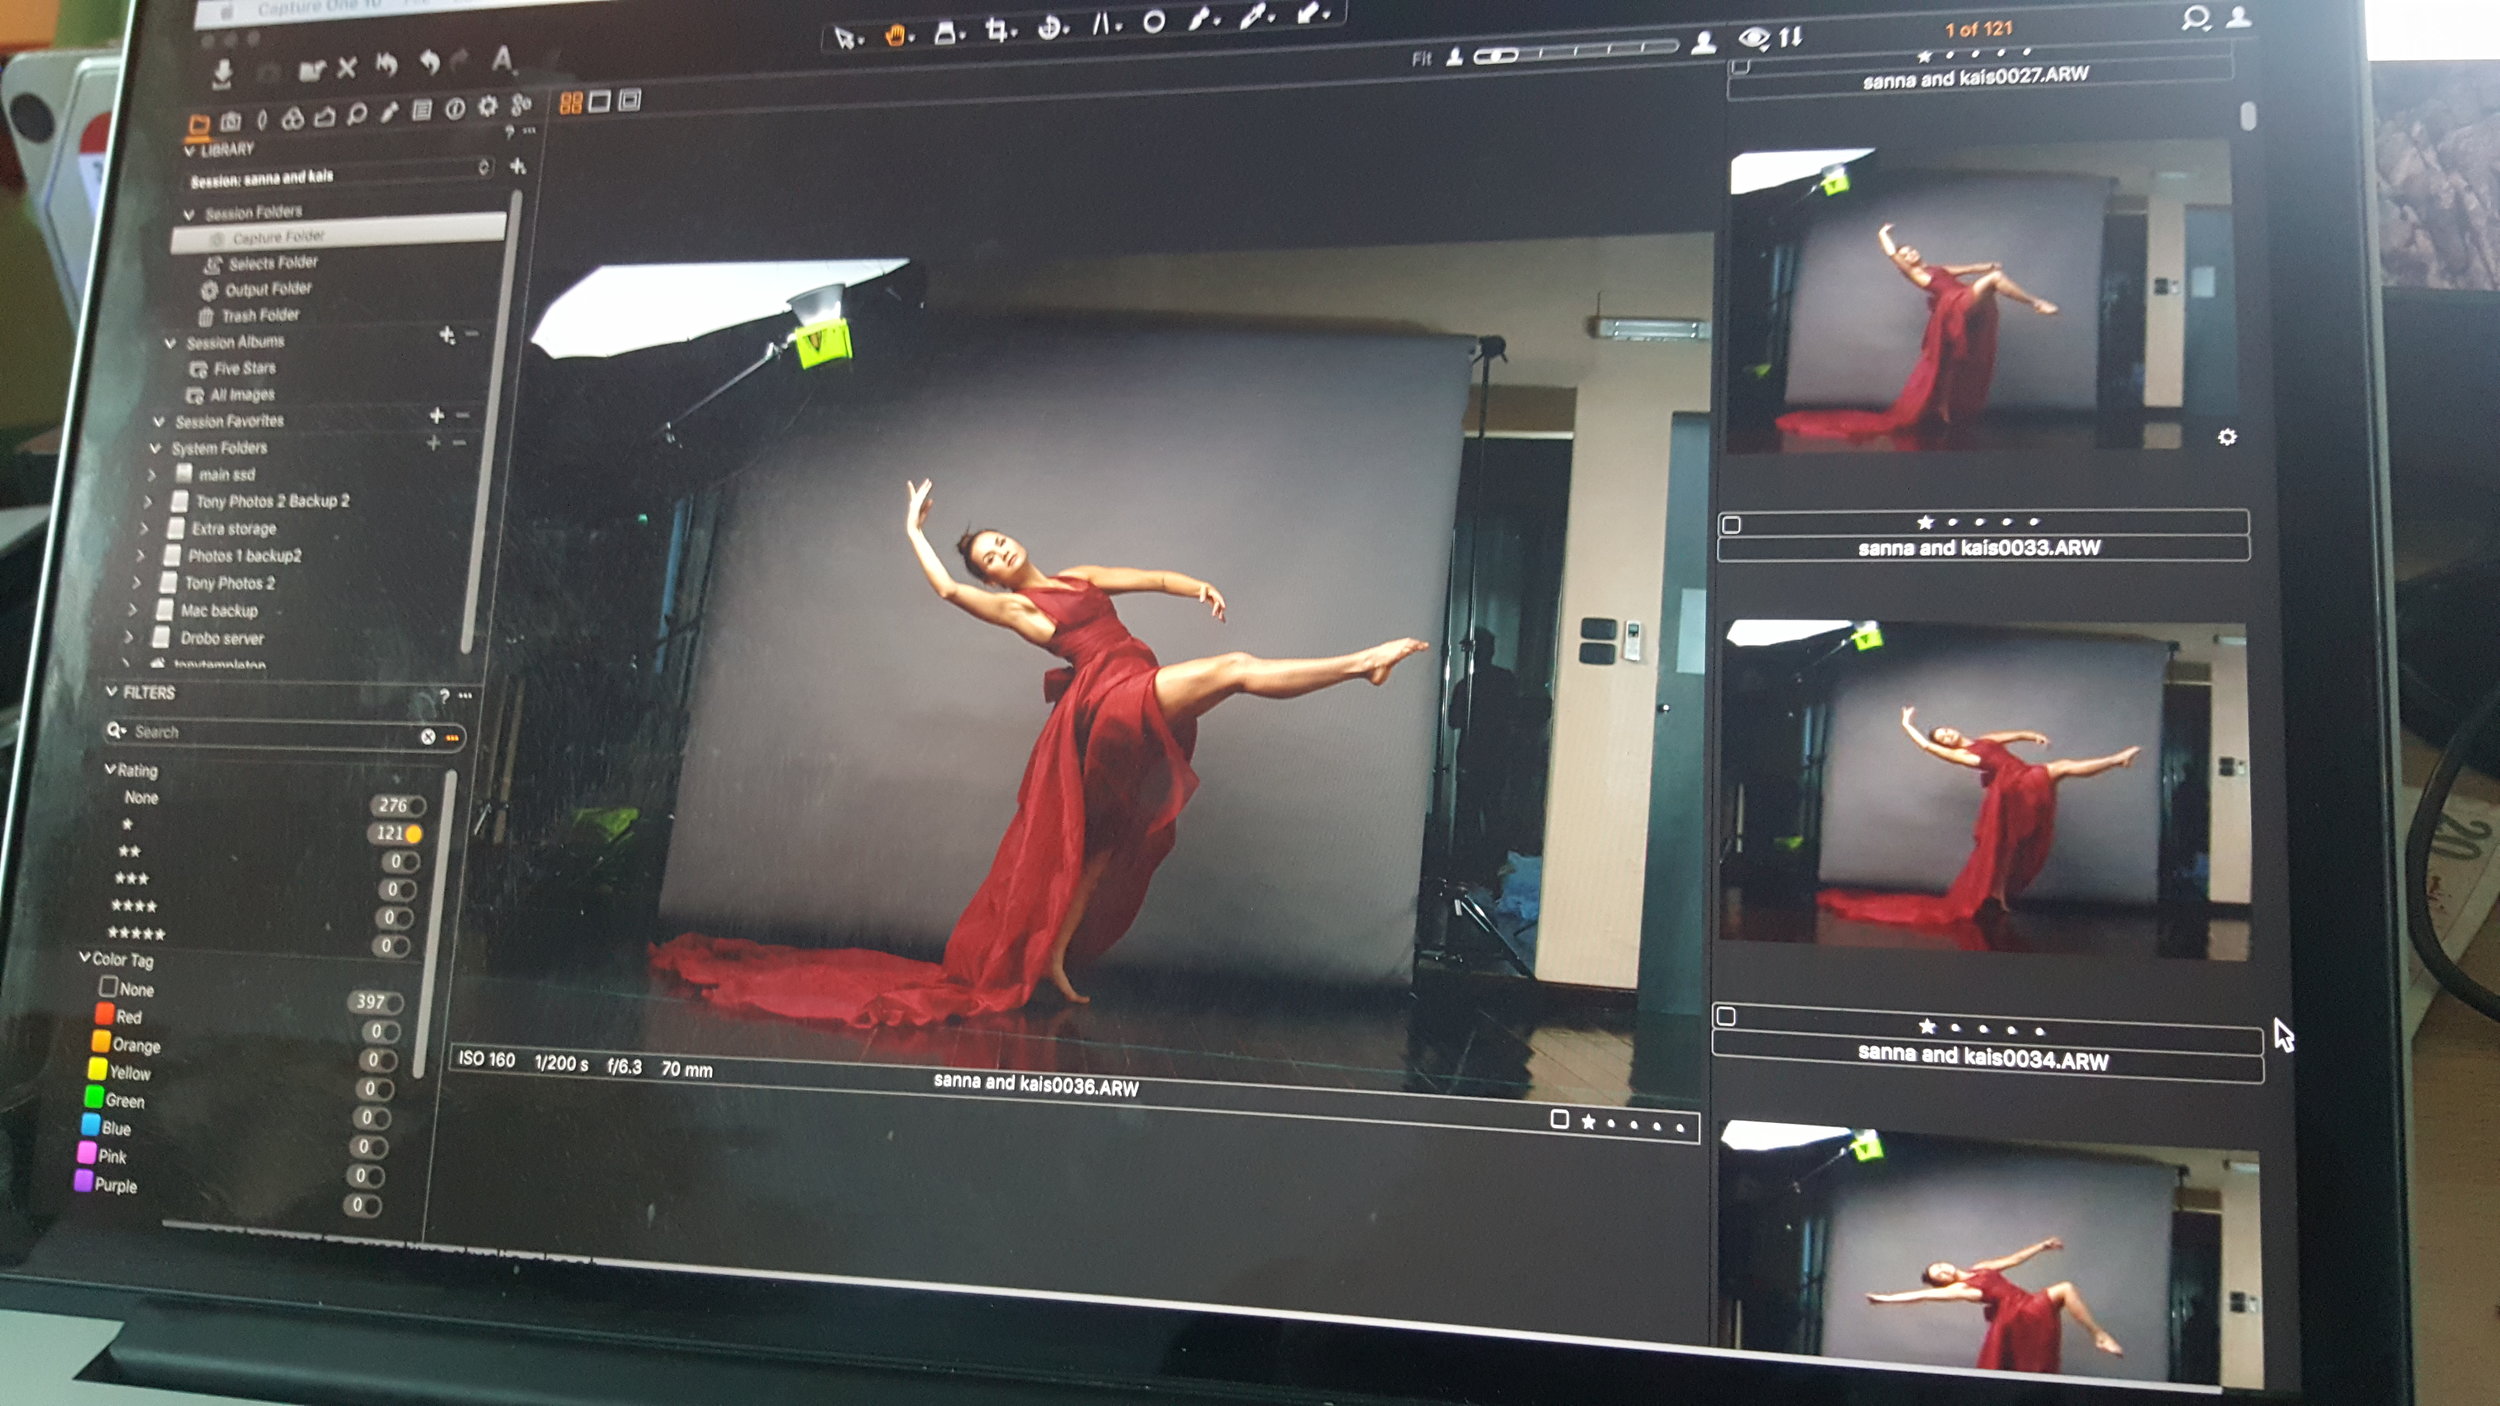
I have recently moved from Photoshop Lightroom to Capture One Pro as my RAW editing tool and data management tool. I was comfortable with Lightroom but when I moved from Canon to Sony cameras I found that Capture One was a better choice for me. Though I am still getting used to this new software, I am pretty happy with it. It does every bit as well as Lightroom in round-tripping images to Photoshop and back, and the tools that are available are actually more extensive than Lightroom.
Processing images takes time, patience and and an eye for detail. I begin with uploading all the images into Capture One Pro and quickly work through the images and choose the ones I’m going to further process. This first pass is just getting rid of the stuff that I will obviously not work with. If the pose is terrible, the eyes are weird, the focus is off or whatever, that image doesn’t make the cut. Then I go through these images and narrow down my selected ones, now... I finally begin the processing itself.
Before I move anything to Photoshop I will typically fix simple things like exposure, cropping, and white balance (although rarely necessary). I send my images to Photoshop for a few reasons; skin retouching, cloaning out distracting elements, using Liquify on clothes that are not laying correctly, some dodging and burning. Most general adjustments I do back in Capture One Pro after I’m finished in Photoshop. This also allows me to fix groups of photos by adjusting the general settings and then copying these settings on to multiple images; I have found, especially in studio work, that this saves me a ton of time.
Once I have my final images cleaned up in Photoshop and then processed in Capture One Pro, I’m pretty much done. There are times that I will want multiple looks for a particular images, so I’ll make a clone of that image file and apply a second set of adjustments to it (maybe going to black and white or using a different color palette). This allows me to keep things organized.

I hope this helps you as you fine-tune your workflow. These areas can eat up a ton of time if you are not organized, and they don’t tend to be the areas that people like to talk about and share exciting ideas about. Regardless, having a good workflow will make you more efficient and give you more time to get creative with your camera, set design, and production processes.
Now get out there and make some incredible images!